Assumption:Virtual Box is already installed, up and running with guest editions and extensions installed
First on the VirtualBox main window, create a new Virtual Machine. Here is the screen shot of the first window when creating a new virtual machine.
Step 2: Put in RAM you want your virtual machine to have. As it will be running an Oracle server, I have set it as 1024 MB/1 GB
 Step 3: The virtual machine will need a virtual hard disk, so create one.
 Step 4: Choose your HD type. I only use Virtualbox, so leaving the default option as it is.
 Step 5: Choosing “Dynamically allocated” here, as I do not want to unnecessary wastage of my HD. You can choose “Fixed size” if you want faster speed.
 Step 6: Choose your HD size, 30GB has proven sufficient for me till now. Hit Create and your VM will be ready for use.
 Step 7: Now, in Machine -> Settings -> Storage, mount your downloaded ISO image on Controller IDE -> Storage by clicking on the drop down as shown in the image below. With CentOS 7, there are two ISOs. Mount the first ISO, second ISO is not used for installation.
 Step 8: On the main Virtualbox window, click on Start. After a few seconds you will be booted on the to the below welcome screen. Choose your Language/Locale and then “Continue”.
 Step 9: Check your settings on next screen and then “Begin Installation”
 Step 10: On the configuration screen, set up your “root” password. Linux guys will know how important “root” password is. For Windows audience: “Set up your root password and remember it. It’s like an Administrator account on windows, but with much greater powers, and is NEVER used to log-in to GUI or being used as any other user on the system”.
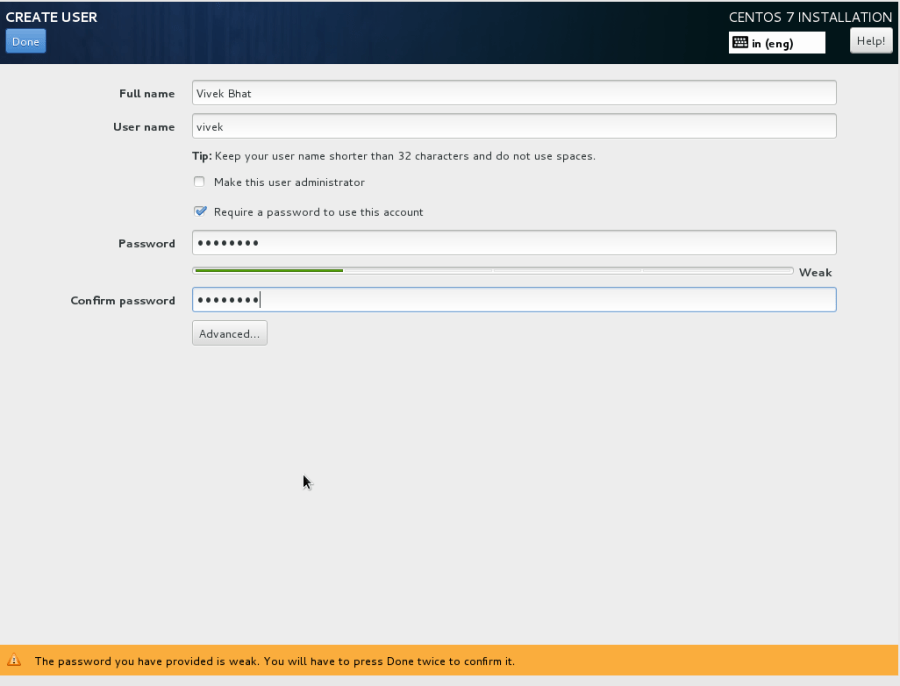
 Step 11: Setting up my user.
 Step 12: Now my configuration screen shows Root password is set and User details are also set. And system is being installed.
 Step 13: System installation in progress….
 Step 14: License is not accepted.. so click on the icon or text…
 Step 15: Accept the license and “Done”
 Step 16: After the system instllation is done, you will be taken to the login screen, where you can see the user you had created in Step 11. Click on it and…
 Step 17: Enter password.
 Step 11: Voila you are logged in!
 Here our installing CentOS 7 on VirtualBox is complete. In next tutorial we will be installing Oracle 12c on this Virtual CentOS 7.
Part II is live now: http://www.vivekbhat.in/blogs/technical/oracle/install-oracle-12c-on-centos-7-part-ii

[…] is a second part of two part blog on how to install Oracle 12c on CentOS 7. First part can be found here Now create a user ‘oracle’ and groups ‘dba’ and ‘oracle’. Then […]